
About two years ago I bought a nice sounding Roland VK-7. The keyboard was in nice shape – however, it did develop (or had previously) a few flaws during the last year.
The first problem (which I also informed of by the previous owner) was a random reset of the whole keyboard. After googling about similar problems other VK-7 owners had, I found out that this might be quite a common problem – at least for the keyboards produced duing the first production year(s). I called the local Roland service shop. They told me that Roland released a fix regarding the problem. Apparently, the mass was improperly connected on the power supply board and an additional wire was needed between two diodes (I think it was D6 and D1 diodes, if yuu have the same problem, double check it with your local Roland service shop).
Shortly after, I noticed some of the black keys on the keyboard are hard to push down. Additionally, a weird gluey red mass was coming off the keys, both black and white. Back to google – this guy had the exact same problem:
Thus, I needed to disassemble the keyboard. Before doing that, I had to get my hands on some NaOH. You can find this also in drain cleaner products – the nice thing about this is, that it does not affect plastic (the keys) or the lead (the weights inside the keys).
Disassembly
So, the disassembly begins …
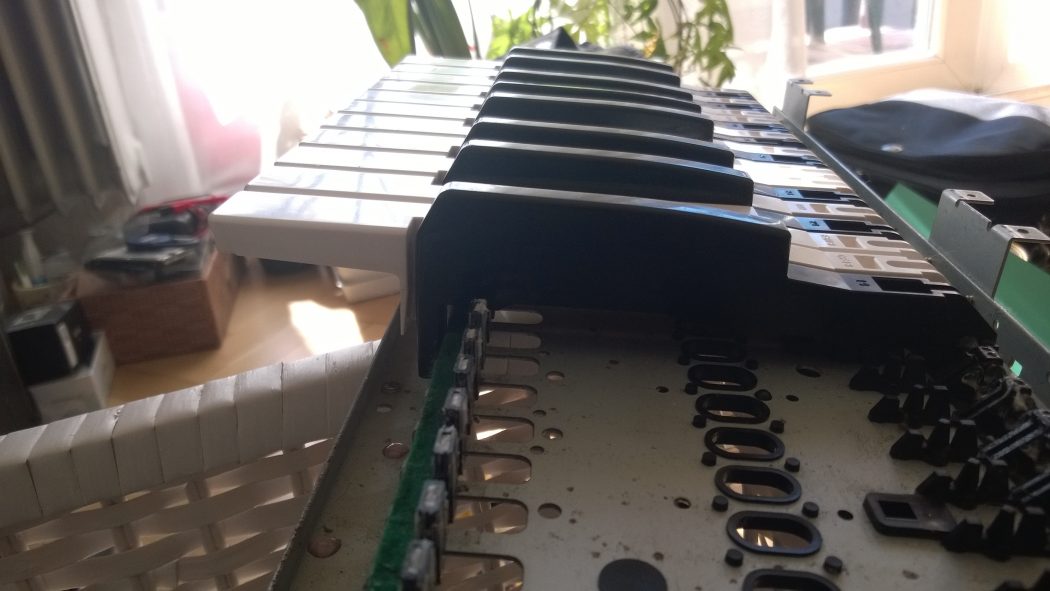
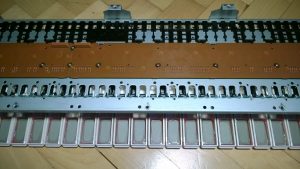
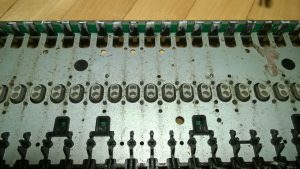
Opening up the steel frame
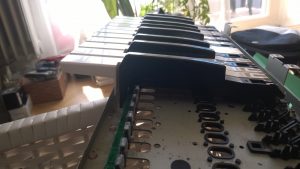
The “ping goo” is clearly visible also before the disassembly
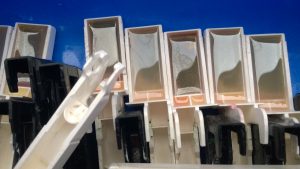
Dripping glue from the white keys
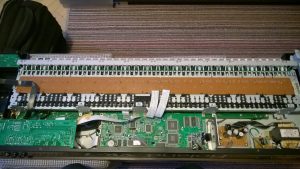
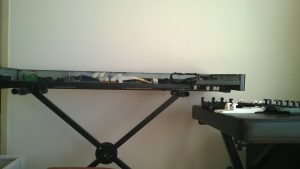
Taking out the keyboard
Taking out the keyboard
I noticed that the keys have additional “marks” on top – the first (one or two) letter(s) indicate the position – e.g. CF is a C or an F key. The mark also contains additional two numbers which I never figured out. The numbers did not follow any pattern across the octaves. The contact at the Roland service shop also was not aware whether the numbers matter in any way (I assume they could be connected to the weights).
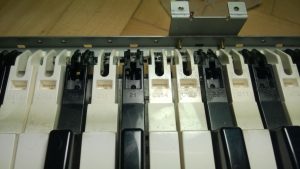
Filth of decades on the top of the keyboard – there are numbers on each key next to the letters showing their designated location
I proceeded with the disassembly – I used two philips screw drivers – pushed between both plastic hooks and spread the plastic.
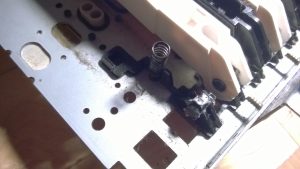
Disassembling the keyboard – there is a spring beneath each key (don’t lose it!). The handle is covered with white grease
If you plan on doing this yourself, make sure you don’t lose the spring beneath the keys. I also left the white greate on the handle which fixes the keys to the steel platform. Apparently, a few grams of this grease costs around 50€ at the local Roland dealer. Its only purpose it to make the movement of the keys more silent.
It’s a slow progress …
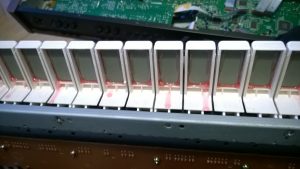
At the end, what’s left is the steel platform with decades of hair/glue/grease mixture.
The steel platform of the Roland VK-7 keyboard
Cleaning
In the meanwhile I also cleaned the rubber strings beneath the keys. They were filled with dust. I used my wife’s acetone (propanone) which evaporates quickly (do this on the balcony, acetone has a distinctive and annoying smell).
I took the keys and submersed them into 1-molar NaOH solution.
I poured the solution only into the weight bracked beneath the keys first.
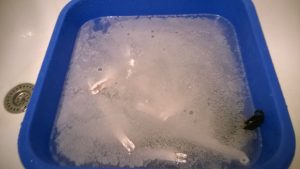
I later figured out I also want to remove the glue which dripped from the weight brackets, thus I submerged the keys completely into NaOH solution.
I left the keys in the solution for 24 hours. Needless to say, if you plan on doing this kind of repair, you need gloves and safety goggles. NaOH is not something you want to get on your hands or (even worse) your eyes. After 24 hours I washed away the solution under running water.
After the washing I dried the keys for about a day and made sure there is no water left in the weight brackets.
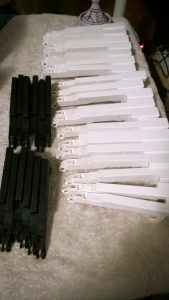
I layed the keys with weights facing downwards – this way the water was drained (mind to put the towel beneath the keys!)
I re-glued the keys using epoxy two component glue. I left the keys to dry for about another day. I layed the keys with weights facing upwards. Interestingly – eventhough the instructions on epoxy state that the glue is dried in about an hour, the glue I added around the weights (the weights were still fixed within the keys) nicely spread around the weights over the day.
Finally, the only thing left was the assembly.
Assembly
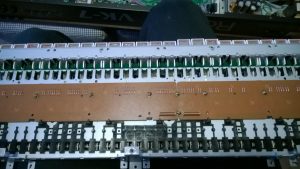
Putting the keys back onto the platform. The adjusting the springs takes some time.
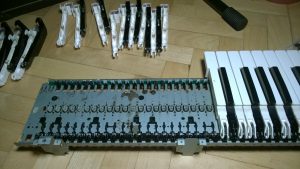
Roland just before the re-assembly of the keyboard
And Heureka! Everything works!
Conclusion
Roland VK-7 is still a really nice hammond clone (if interested in hammonds, check my work on Hammond XB-2 here) – these were the only problems so far and all of them were quite documented (meaning, somebody found the solution and I was able to backtrack their steps sufficiently).
If you love old instruments, make sure you have the time to fix them 🙂
No Comments